
In the summer of 2017, I hacked a spare Nintendo Wii I had lying around so I could install some emulators on it. Hacking a Wii is extremely easy, and I’d recommend you give it a shot. While there’s a slight risk of bricking your hardware, hey, it’s 2018: if you still have a Wii, chances are it’s not doing anything other than collecting dust. The Wii homebrew scene is pretty quiet these days, but there’s loads of fully functional, high quality emulators and homebrew games already out there. You can even turn your Wii into an alarm clock. Give it a shot!
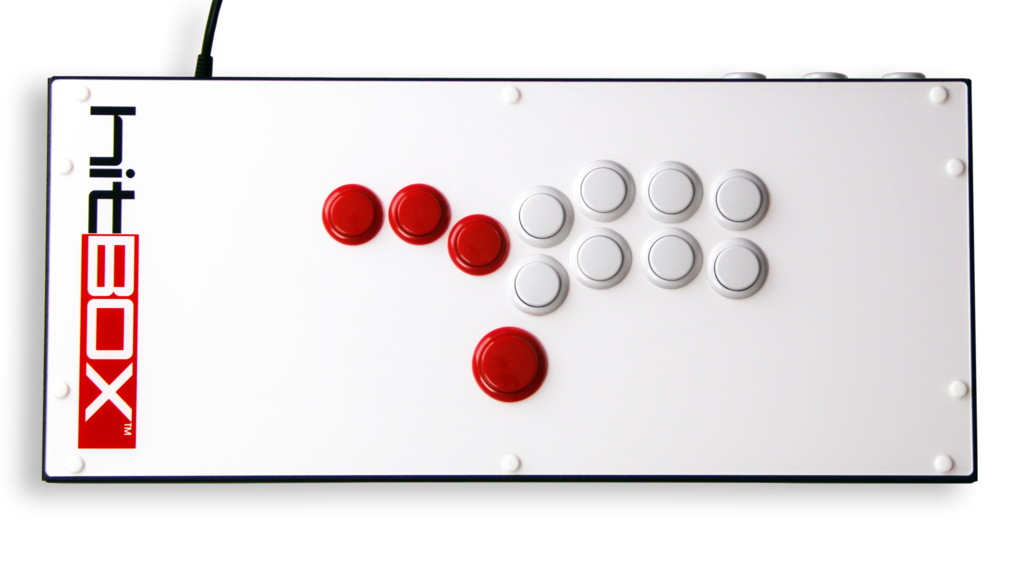
Getting a Wii to run some arcade ROMs with Retroarch isn’t too difficult – but who wants to play Street Fighter II with this?
NOBODY! Well, at least not I, noted arcade stick nut Steven J. White. I needed an authentic arcade controller. And it had to be a good one. Sure, I could probably have just bought one, but Wii arcade sticks are somewhat expensive, and I’m cheap. On top of it, I’d already hacked up just about every other arcade stick I owned. The solution? BOOZE.

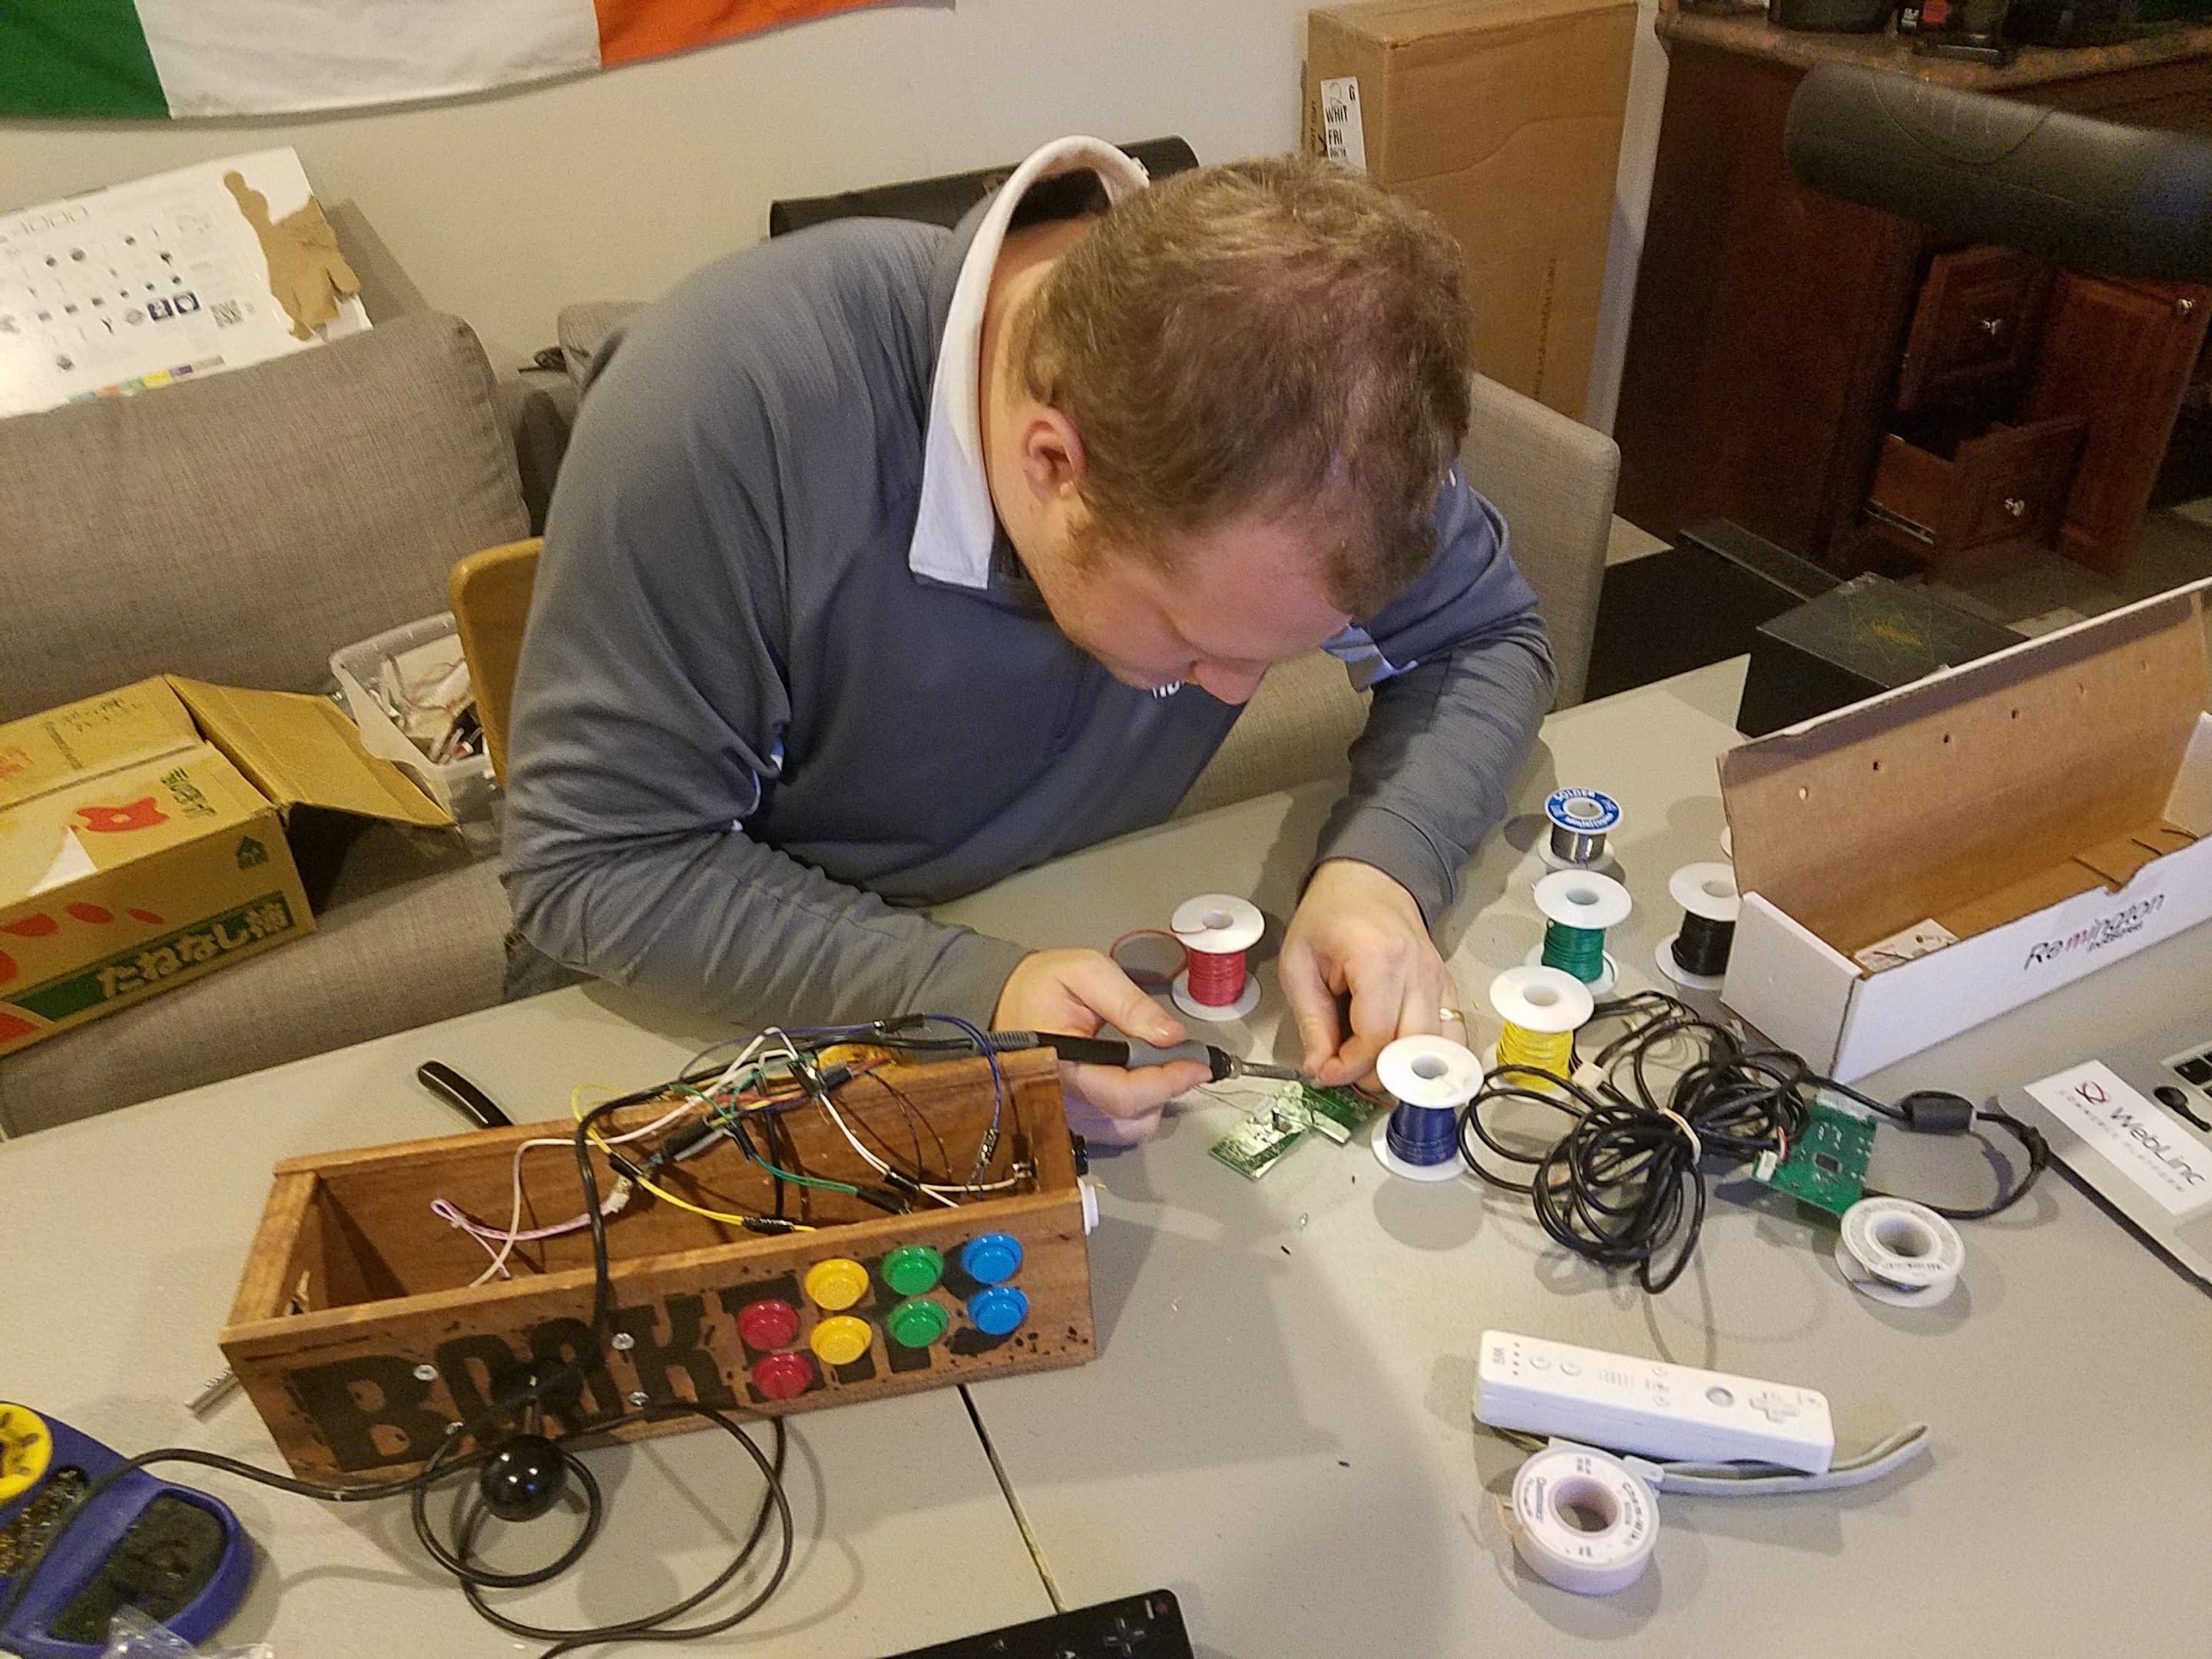
After finishing a bottle of Blood Oath Bourbon, it dawned on me that the box that it came in was something I MIGHT be able to use as an arcade stick – plus it had a nice little sliding top I could use an access panel for future repairs, if need be. So with that in mind, me and my buddy Adam extracted the PCB from an old Wii Classic Controller, dremeled up the box, ran some wires, and…. PRESTO.
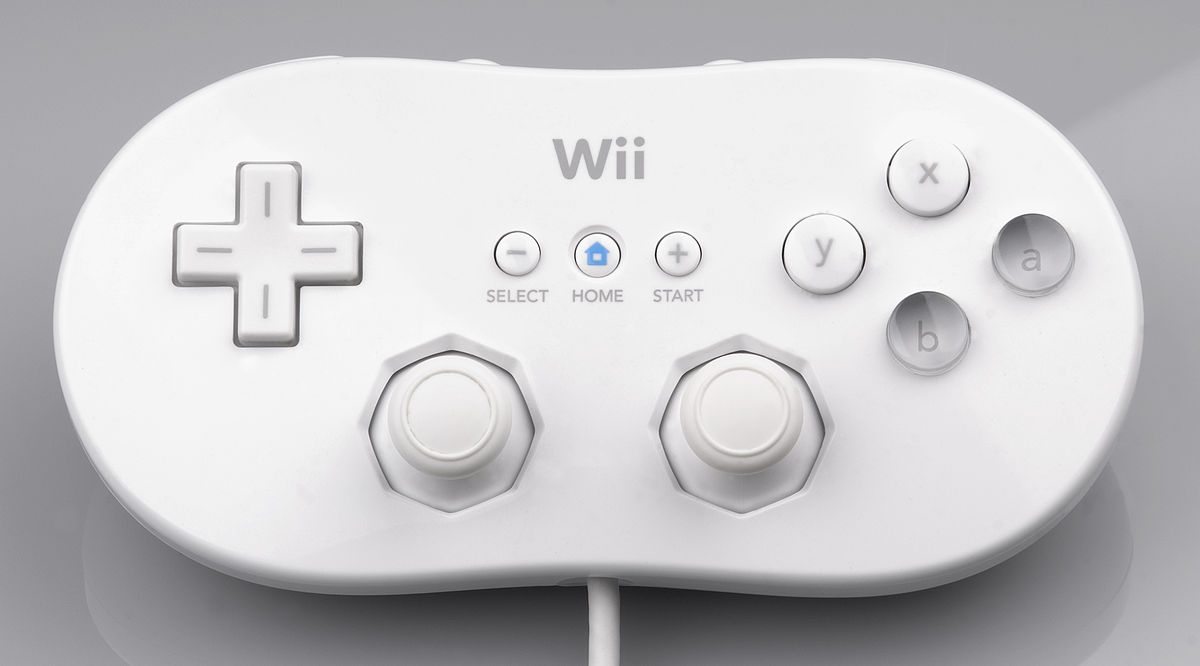
A classy, and mostly functioning arcade stick for the Wii. Why “mostly functioning?” Well, that’s because the buttons that were mapped to the Wii Classic Controller’s triggers (second column from the right) produced inconsistent results. After a bit of research (meaning checking out this long dead thread on shoryuken.com), I learned that this is because the left and right trigger buttons on the Wii classic controller, much like their Gamecube forbears, are analog/pressure sensitive. This means you can’t map them cleanly to a simple arcade-style push-button without soldering in some resistors and diodes. Lacking these components and a comprehensive guide to work with, I decided to go another route: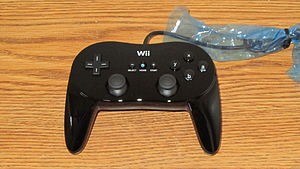
The Classic Controller Pro. This bad boy, ostensibly designed so that people could comfortably play first-person shooters on the Wii, has 4 strictly digital trigger buttons, meaning no additional components would be necessary. So, with that in mind, Adam and I got back to work.
After a quick PCB replacement, we found that the arcade stick now worked perfectly. But hey, by that time, we’d finished another bottle of booze.

It was hard not to look at the beautiful, clear front on that bottle of Booker’s and not think that it would look positively BEAUTIFUL with a PCB slammed into it. We had another Classic Controller Pro ready to go, so we just went for it:

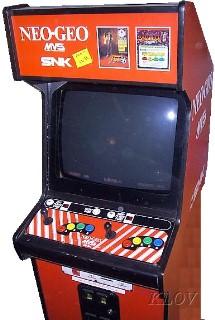
First, we drilled some holes and mounted the buttons (24 mm, in case you are looking to recreate this) and joystick. Notably, we had to mount the joystick sideways and adjust our wiring accordingly, as the box wasn’t wide enough to accommodate the standard positioning. The astute reader will note that we chose a color scheme that paid homage to the Neo Geo MVS cabinet. After that, it was just a lot of soldering and running wires:
The end result came out looking pretty good:
Ooooooh, sexy! You may note that I left the analog sticks attached. While they’re functionally useless, I thought it might be cool to leave them in there in case I ever decided to get creative – maybe some day I’ll mount them on the sides and use them as pinball flippers, I dunno. They look kind of cool resting in the middle, if you ask me.
So now I had two fully-functioning Wii arcade sticks. But I also had a lot of spare parts, and a strong desire to keep making unconventional controllers. One thing that has always intrigued me are “stickless” fightsticks.
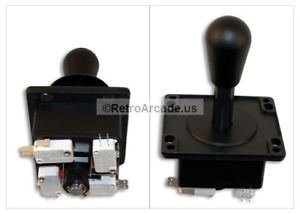
A conventional arcade style joystick, at its core, is just a lever that smashes into one of four buttons for each of the cardinal directions.
Digital d-pads operate on much the same principle. There’s a subset of the fighting game community that prefers to skip the stick entirely, opting to put directional buttons on the face of the controller instead. I don’t know if that’s a way I’d want to play to play fighting games, but damn if my hands don’t get cramped when playing old school NES RPGs.
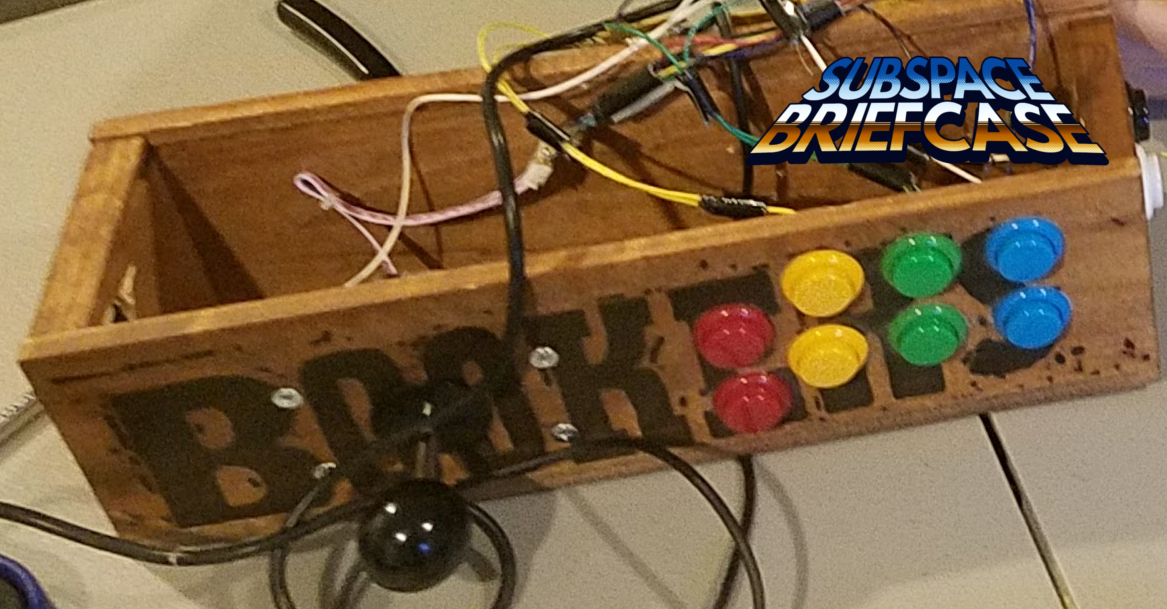
It was then I got inspired by this cigar box:

This here blunt box, which a former co-worker abandoned on her desk, would be perfect for my RPG controller. It didn’t hurt that I had a long-unused Retro-Bit dogbone style NES controller just sitting around.

So, I got to work. First, drilling some button holes….
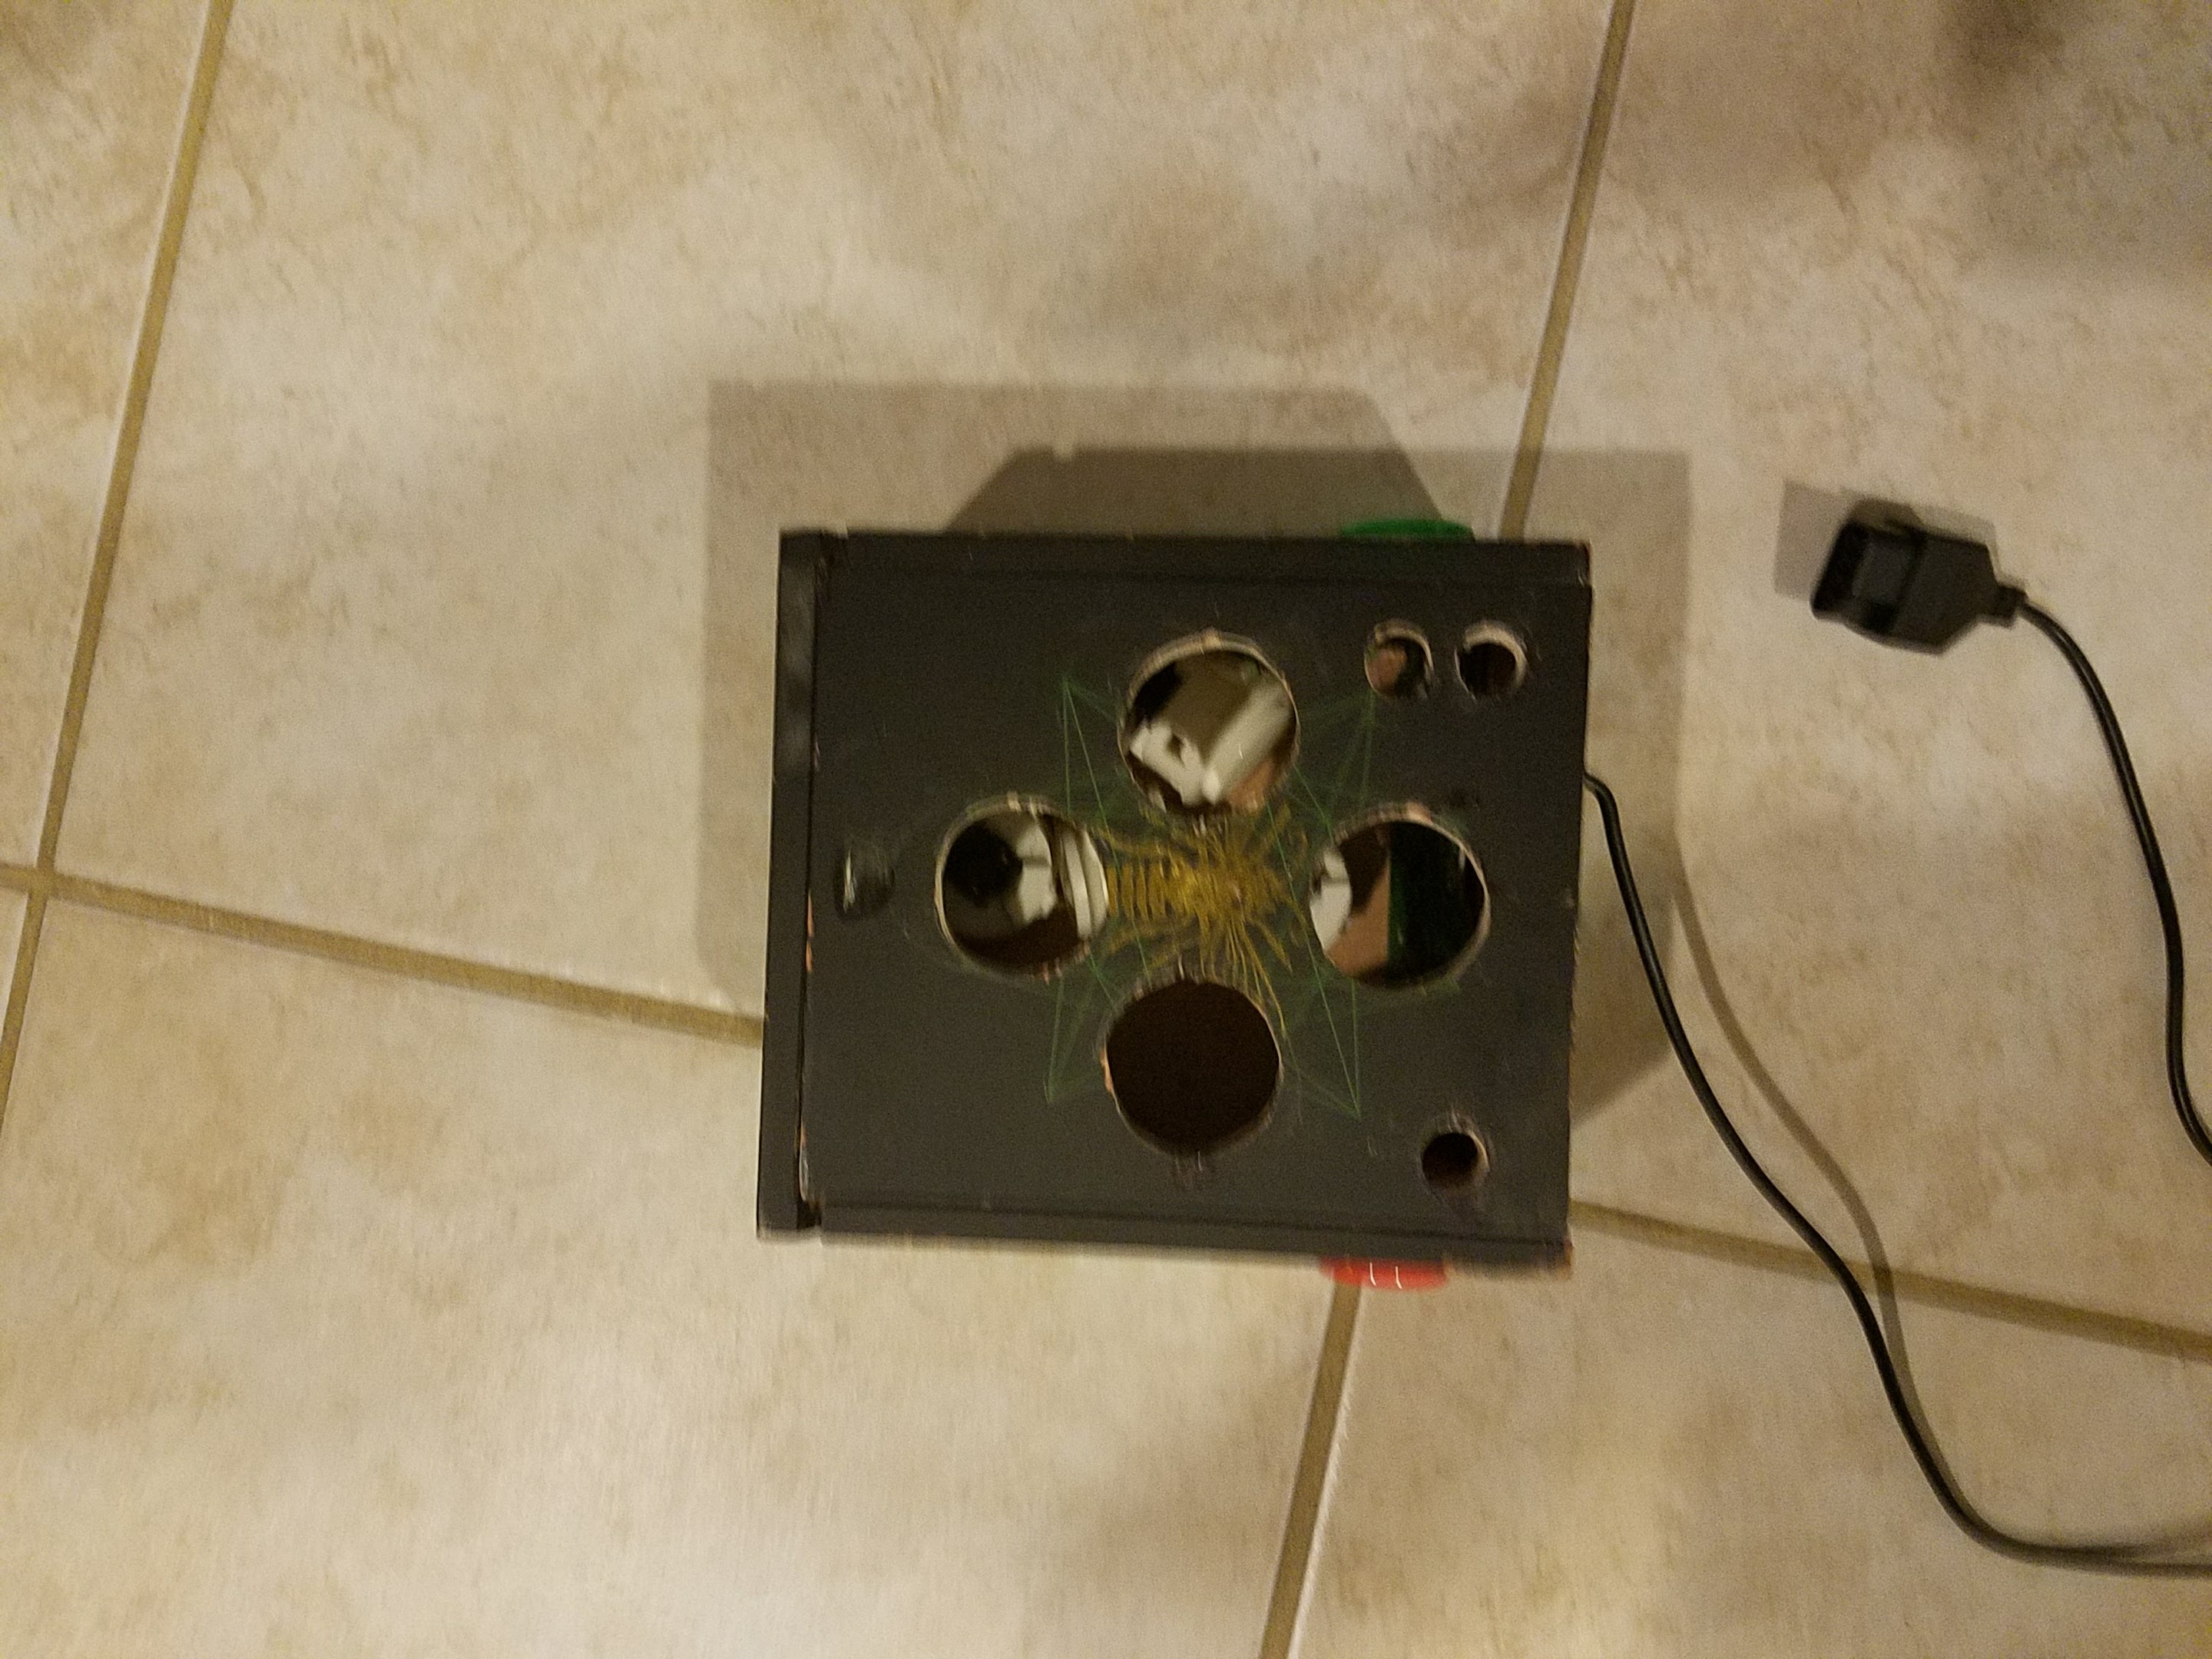
Then dropping in the dogbone PCB and running some wires…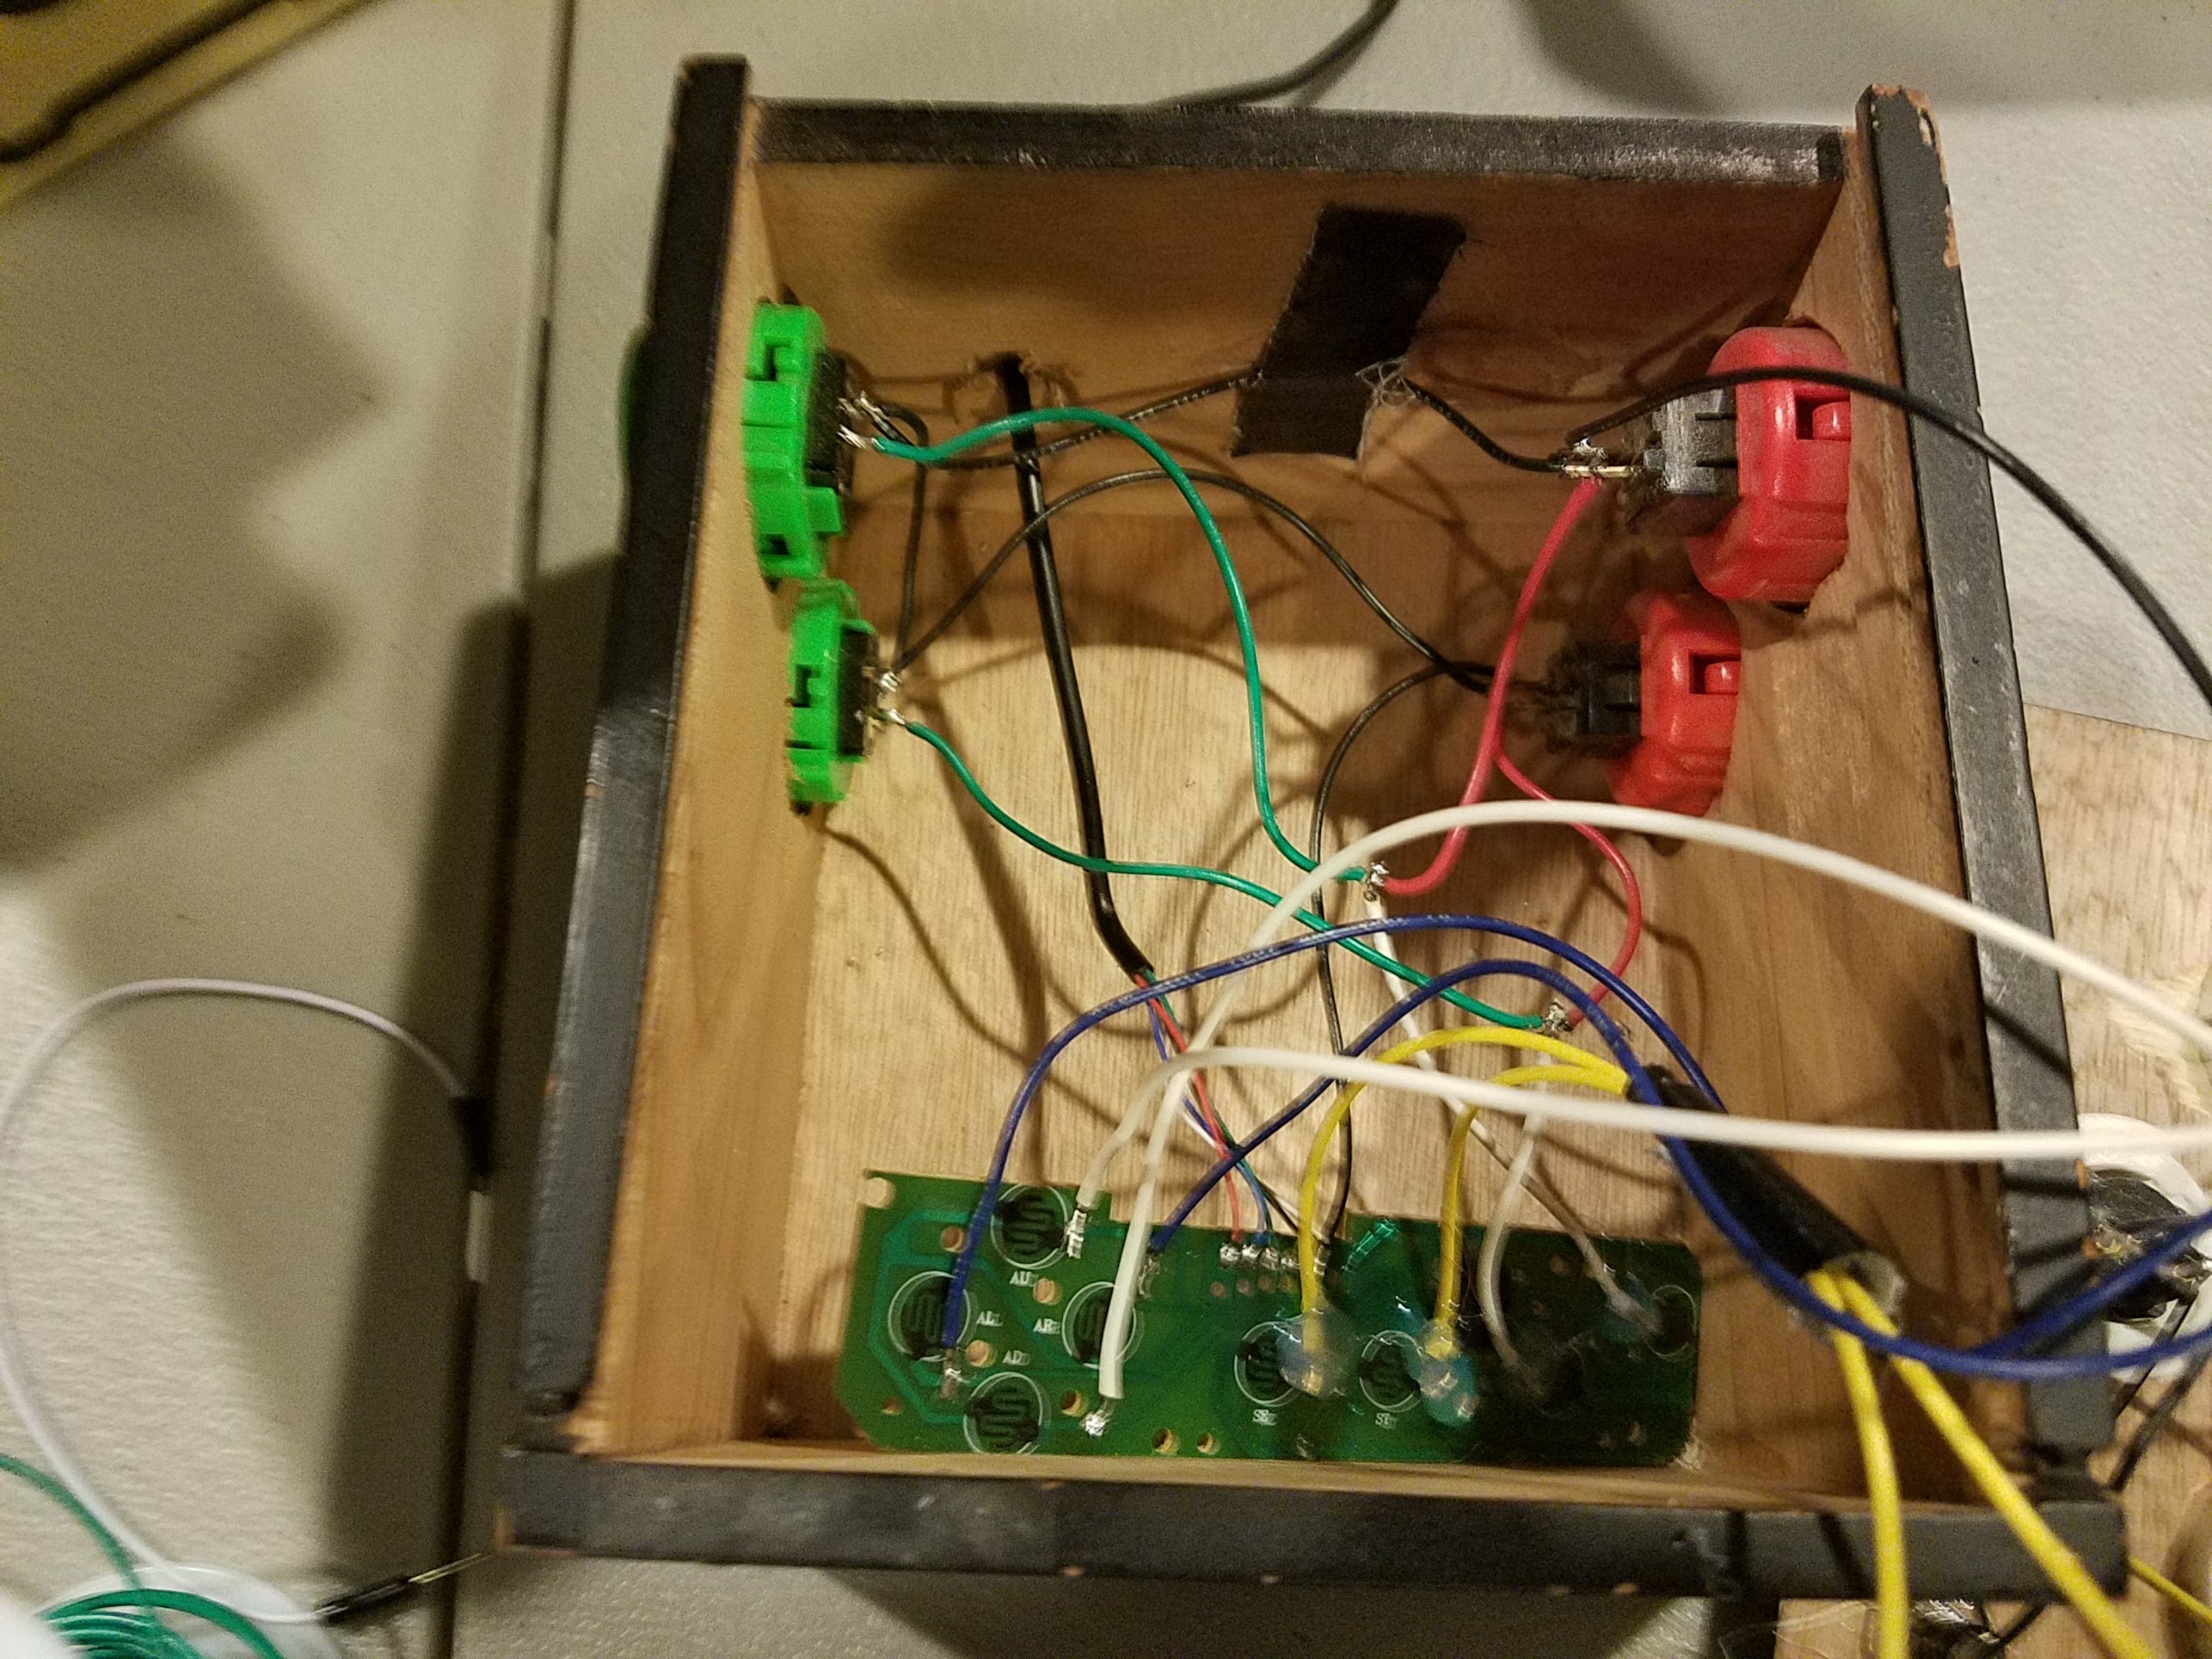 And, finally, putting it all together, and dropping in an LED for style points (pro-tip: hot glue is a great lightspreader):
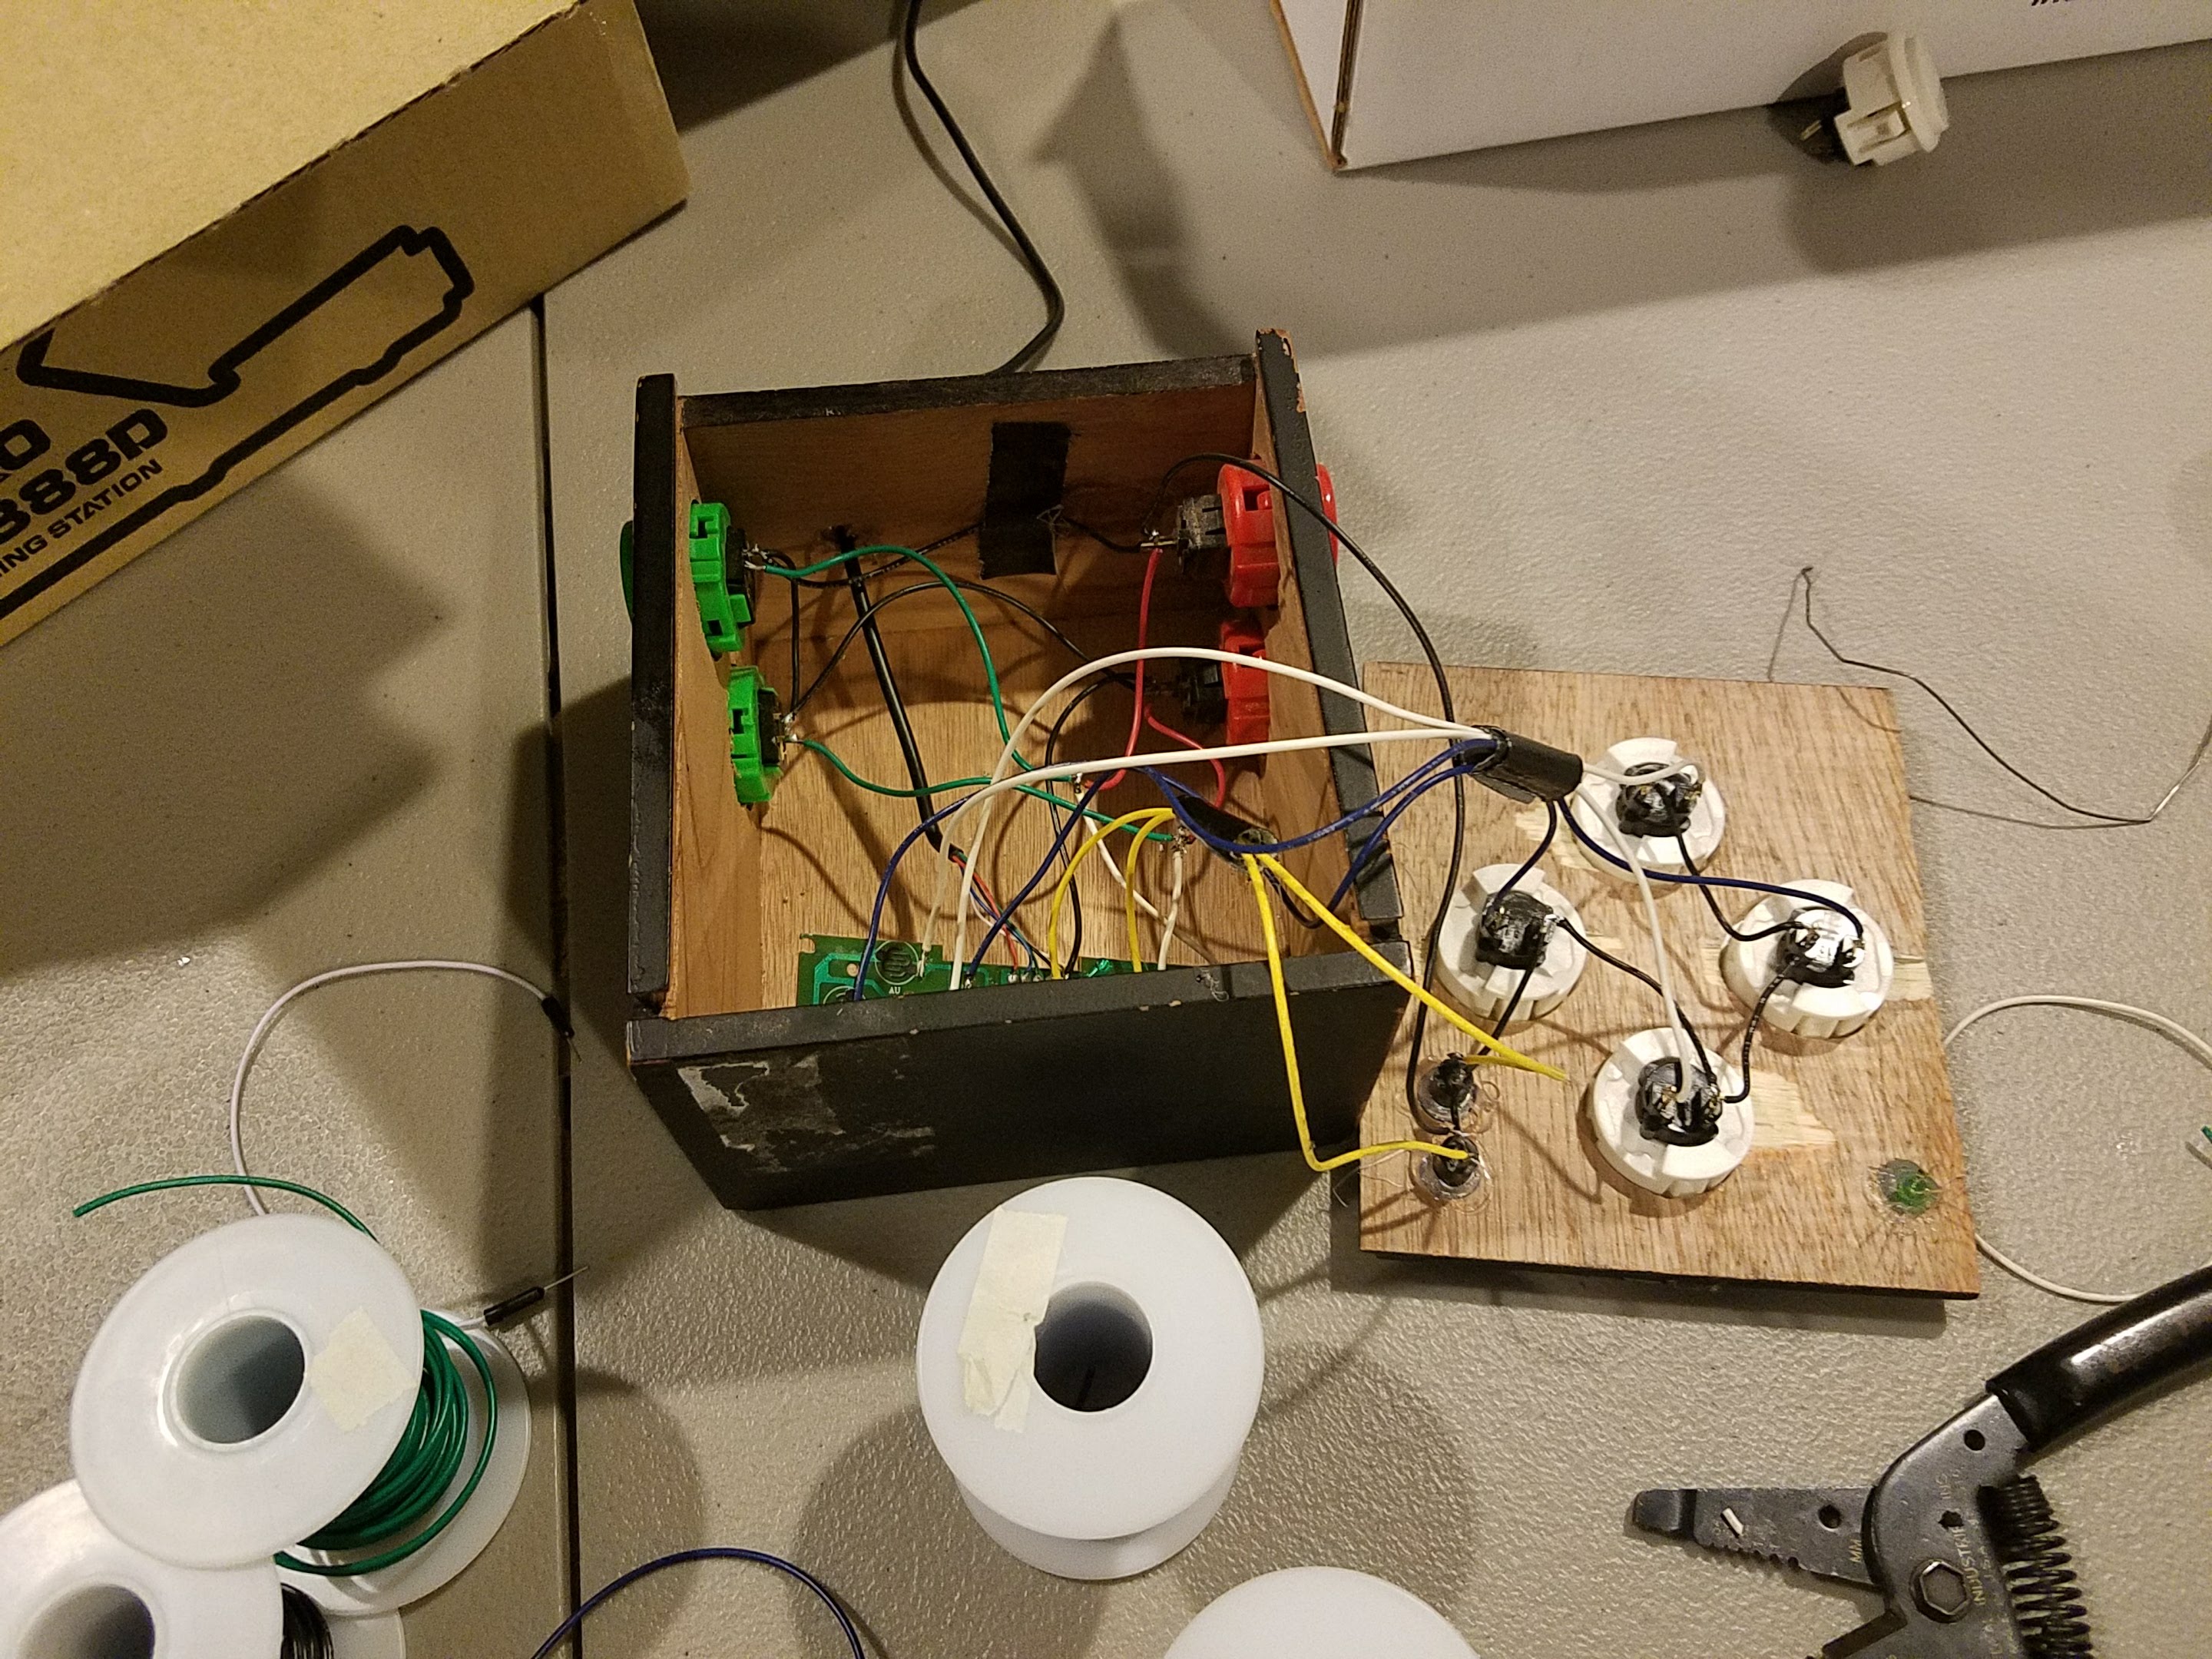 Not pictured here, because I’m not a great documentarian: having to shave down the lip on the right side of the box lid so I could actually open and close this thing when all was said and done. The trickiest part of all this? Running a nice, clean looking ground loop through the 4 buttons on the side AND the 6 buttons on the top. The end-result?
The KILLER BEE! A fully-functional, extremely impractical NES controller without a d-pad. While I haven’t gone nuts with it yet, yes, it does work just fine for RPGs. Because I’m nuts, I thought it would be fun to put A and B on either side, making this controller usable by both lefties AND righties. This may be the weirdest thing I’ve done yet, but I’m super pleased with the result.
So there you have it folks! When it comes to retro controllers, if you’re willing to crack a few eggs, you can get some nice omelettes. I’m not sure what I’ll make next, but I’ll be sure to post about it when I do!
These are great, but you seem to have a disturbing number of bourbon and cigar boxes lying around…
Oh, come on. It’s just two bourbon boxes and a cigar box someone left on their desk. Save it for when I make my “meth pipe” PS2 mod.